If you need to build a Windows 10 test environment with Powershell 7, Windows Terminal, WSL2, Visual Studio Code and Visual Studio 2019 then you’re in the right place. In the steps below I will walk you through building a test environment on your existing PC/laptop using Hyper-V.

Prerequisites

  • Windows 10 build 2004 or newer
  • Hyper-V feature installed


Open Hyper-V and Create Windows 10 dev Virtual Machine
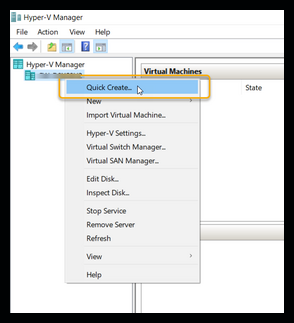


Open Hyper-V and right mouse click your computer to choose Quick Create

Quick Create from Hyper-V Console


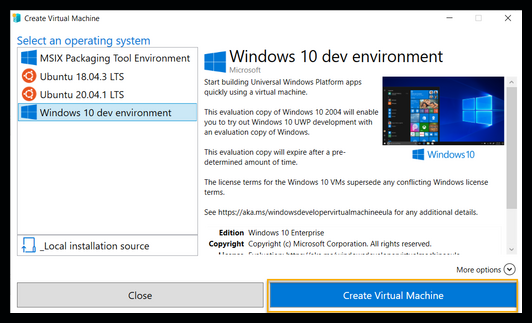
Choose the Windows 10 dev environment and then hit Create Virtual Machine

Choose Windows 10 OS for dev environment


Once you choose to create virtual machine the very large install image is downloaded (17+ Gb)
This will take a while. Good time for a break.
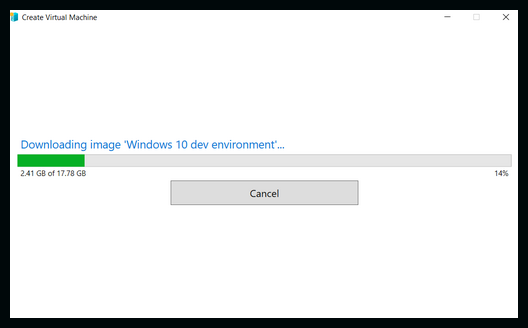
Download starts for Windows 10


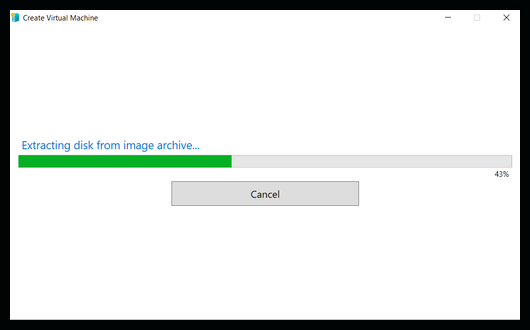
After the image is downloaded it will extract automatically

Image is extracted


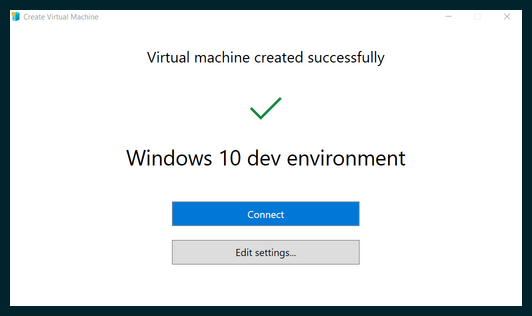
Finally, my virtual machine is created. From here you can edit the settings or Connect. We're going to edit the settings first.

Virtual Machine Created


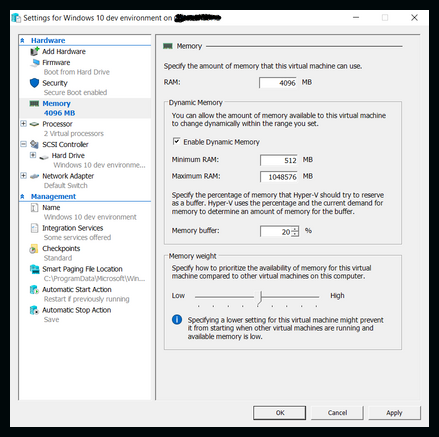
Make your custom changes to the memory, CPU, etc. and save your settings.

Virtual Machine Settings


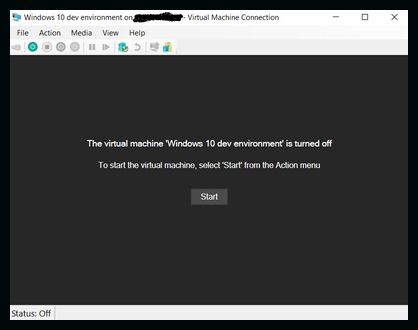
Ready to start Windows 10 dev Virtual Machine.

Virtual Machine Start


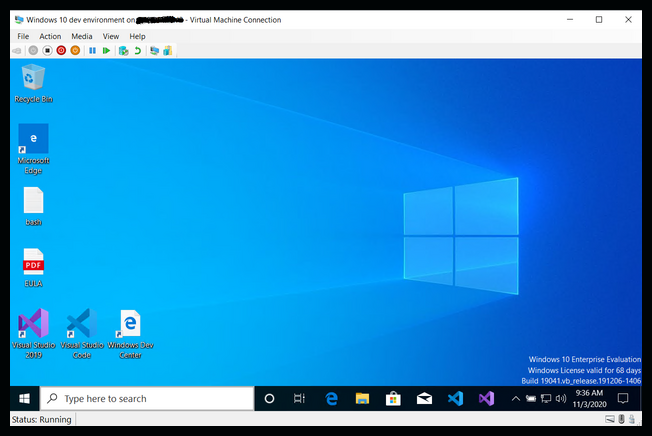
Your new Windows 10 environment. Now we can start to customize it.

Fresh install of Windows 10 dev environment


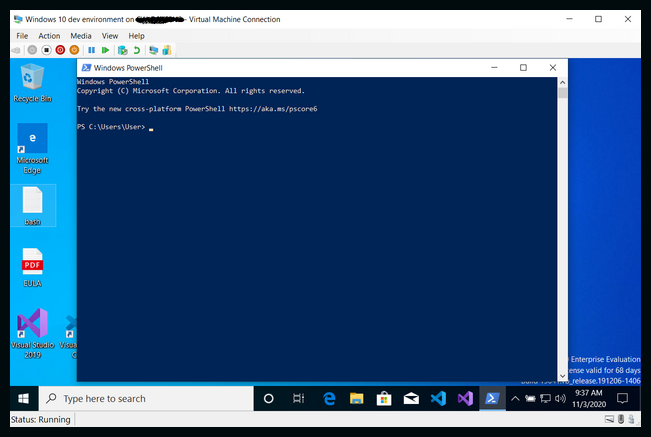
You'll notice the dev environment is installed with Powershell 5.1 by default. If you want to install Powershell 7 you can download it from (https://docs.microsoft.com/en-us/powershell/scripting/install/migrating-from-windows-powershell-51-to-powershell-7?view=powershell-7)

Powershell 5 after install


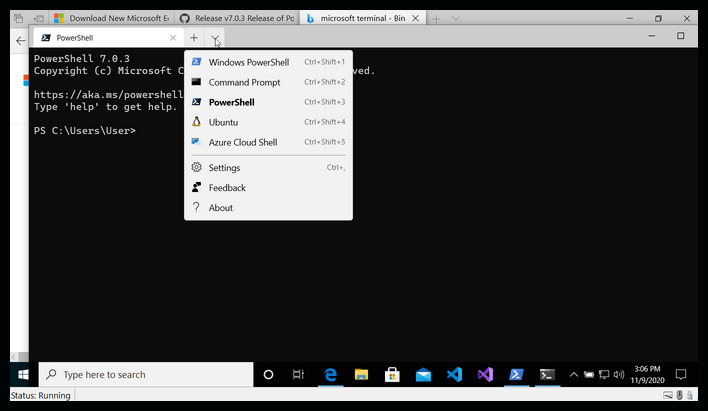
A useful tool that's included in this image is Windows Terminal. You can run scripts from Powershell, Command Prompt, WSL distros and Azure Cloud Shell.

Windows Terminal


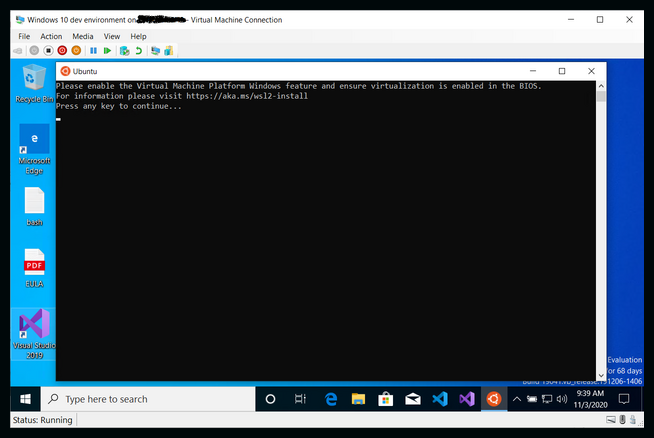
Let's test out WSL. From the Start menu launch Ubuntu. Unfortunately, this does not work out of the box.

Launch Ubuntu WSL


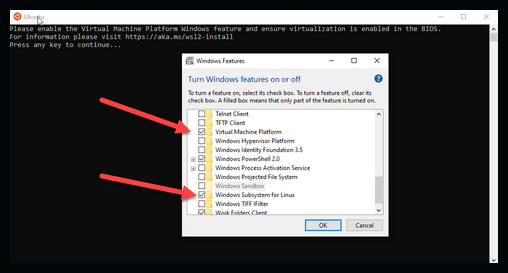
As you can see the subsystem for linux and virtualization are already enabled.

Subsystem and virtualization enabled


You need to enable nested virtualization in order to launch Ubuntu. Shutdown the VM and run this powershell command from the physical Windows 10 device (not from the VM)

Set-VMProcessor -VMName "Windows 10 dev environment" -ExposeVirtualizationExtensions $true
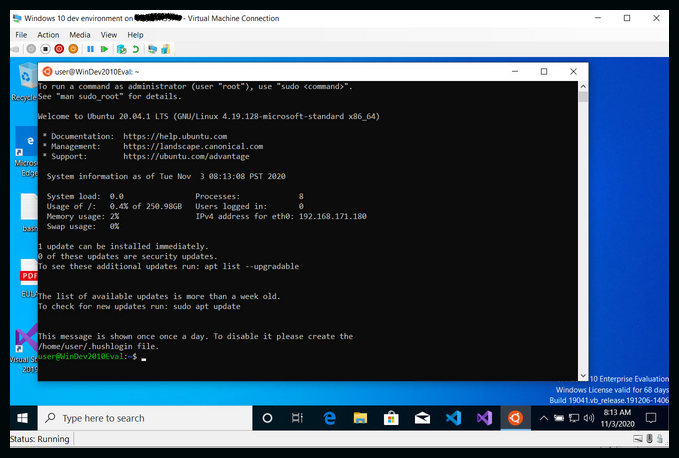


Now you can power up the virtual machine and launch Ubuntu. You're all set!

Ubuntu now works


You now have a Windows 10 dev environment with WSL2, Powershell 7, Windows Terminal, Visual Studio Code and Visual Studio 2019. I hope this article was helpful. If you see something that you would like to add please post your comments below.


References:
https://docs.microsoft.com/en-us/windows/wsl/install-win10
https://docs.microsoft.com/en-us/powershell/scripting/install/migrating-from-windows-powershell-51-to-powershell-7?view=powershell-7
https://docs.microsoft.com/en-us/virtualization/hyper-v-on-windows/user-guide/nested-virtualization