


WSL or (Windows Subsystem for Linux), allows for various distros to run inside of Windows 10. In the past you had to spin up a virtual machine on HyperV to get Linux working from your Windows 10 box. WSL offers access to the bash command line without having to build a Linux distro from scratch.
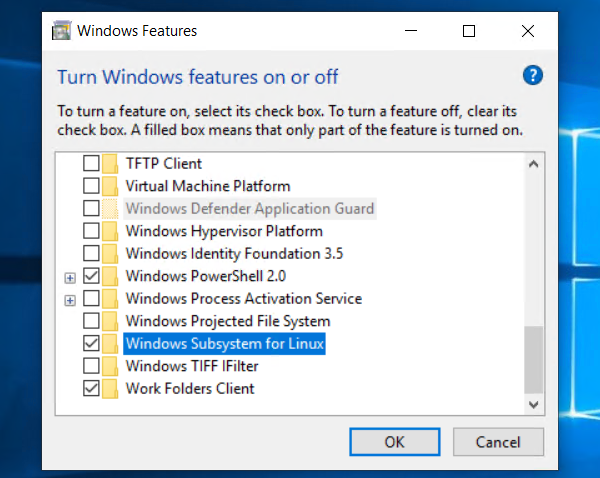
You’ll find WSL offered as a feature addon in Windows 10. In order to get WSL up and running you first need to add the feature by going to Control Panel and opening Windows Features. Scroll down until you see Windows Subsystem for Linux and check the box. Hit OK to exit the feature options. (Restart is required)
You also have the option to enable WSL with Powershell:
Enable-WindowsOptionalFeature -Online -FeatureName Microsoft-Windows-Subsystem-Linux
Get a Distro
Now that you have WSL installed (I hope you rebooted after enabling feature), you need to install a Linux distro. You can choose your favorite distro at the Microsoft Store. Search for “Linux” in store app.
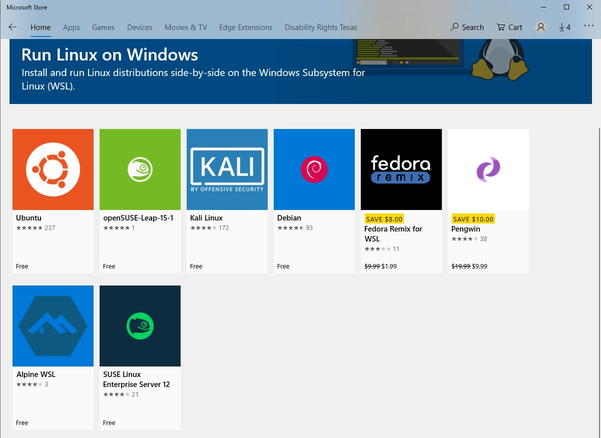
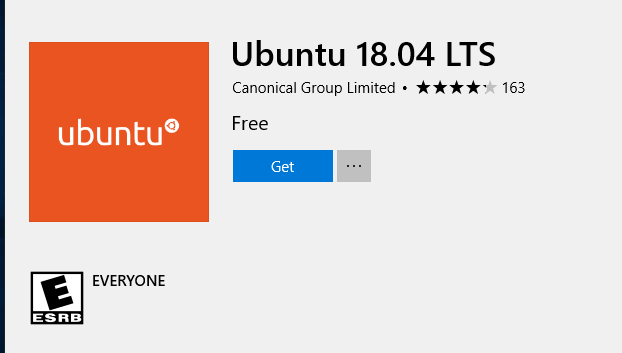
It’s as easy as selecting the one you want and hitting the Get button.
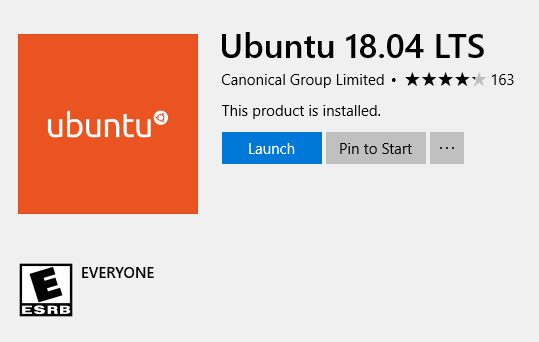
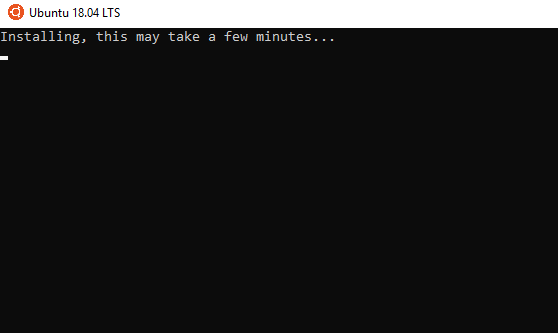
Hit the launch button to get the distro started.
The distro will take some time to get setup.
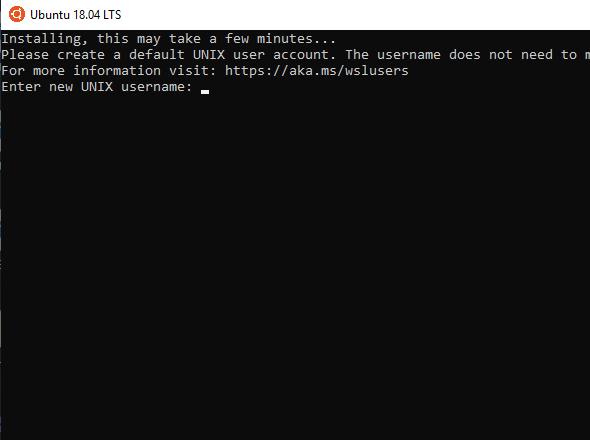
After the initial setup you’ll be prompted for a login name and password (don’t forget your password)
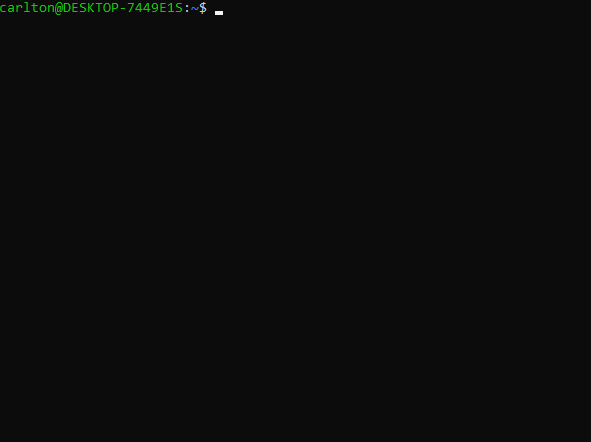
There you go. You now have Ubuntu 18.04 running on Windows 10!
When you want to access your distro you have many options:
- Launch Ubuntu (distro you installed) from Start Menu
- From command prompt Windows button + R then type “bash”
- From Powershell prompt type “bash”
- From Powershell or CMD prompt type name of distro “ubuntu1804”
That’s all there is to getting WSL running in Windows 10. If you see any typos or anything that’s not correct please let me know in the comments below.
Thanks!